
Photographing a property with a phone: listing images step by step
A listing photo is not art, it is a tool: its job is to stop the scroll and let a buyer put themselves in the room. That does not take an expensive camera. It takes a handful of decisions made on site, because those are the ones that cannot be fixed afterwards. This article goes through them in order.
Preparation beats equipment
The quality of a listing shoot is decided more by the state of the room than by the device. Before the phone comes out:
- Remove what does not belong to the property. Bin, washing-up liquid, towels, slippers, fridge magnets, cables. Individually trivial, collectively noise.
- Open the curtains and the blinds. A dark room looks smaller, and buyers price it lower without knowing why.
- Close the toilet lid, hide the laundry, move the pet bowl. This is not staging, it is the same thing you would do before a viewing.
- Move a chair if it blocks the view into the room. You are not furnishing; you are clearing the line of sight.
- Wipe the mirror and the window. Marks show far more on a photograph than they do in person.
Height and angle: where it is decided
Most bad listing photos are bad for one reason: they were taken standing, at eye level. Very little floor appears, too much ceiling does, and the room comes out smaller than it is.
The working rule: hold the phone at roughly chest height, about 140 to 150 cm, and keep it VERTICALLY straight. Tilt it forward or back and the walls converge or splay, and the whole room looks crooked. Most phones can show a grid or a level; use it.
Stand in a corner of the room rather than against the middle of a wall. From the corner two walls and more of the floor are visible, which is what gives the image depth. Shoot landscape, because listing portals are built for landscape images.
A test worth doing once: take the same photo standing, then from chest height. Put them side by side. The second almost always shows a larger room, and it is the same room.
Light: when to shoot, what to do with lamps
Daylight is best, but not at any hour. Harsh midday sun burns out the area in front of the window; overcast light is even and far easier to work with. A cloudy morning produces a better listing photo than a brilliant summer noon.
On artificial light: switch the room lamps off if enough daylight comes in. Warm bulbs mixed with cool daylight leave colour casts on the walls that read as dirt in a photograph. Turn the built-in flash off too: it flattens the room and reflects off the window.
If the room is dark and the window bright, the phone will either blow out the window or leave the room black. Tap on the darker part of the room so it meters there, and accept a bright window. A dark room is the worse photograph.
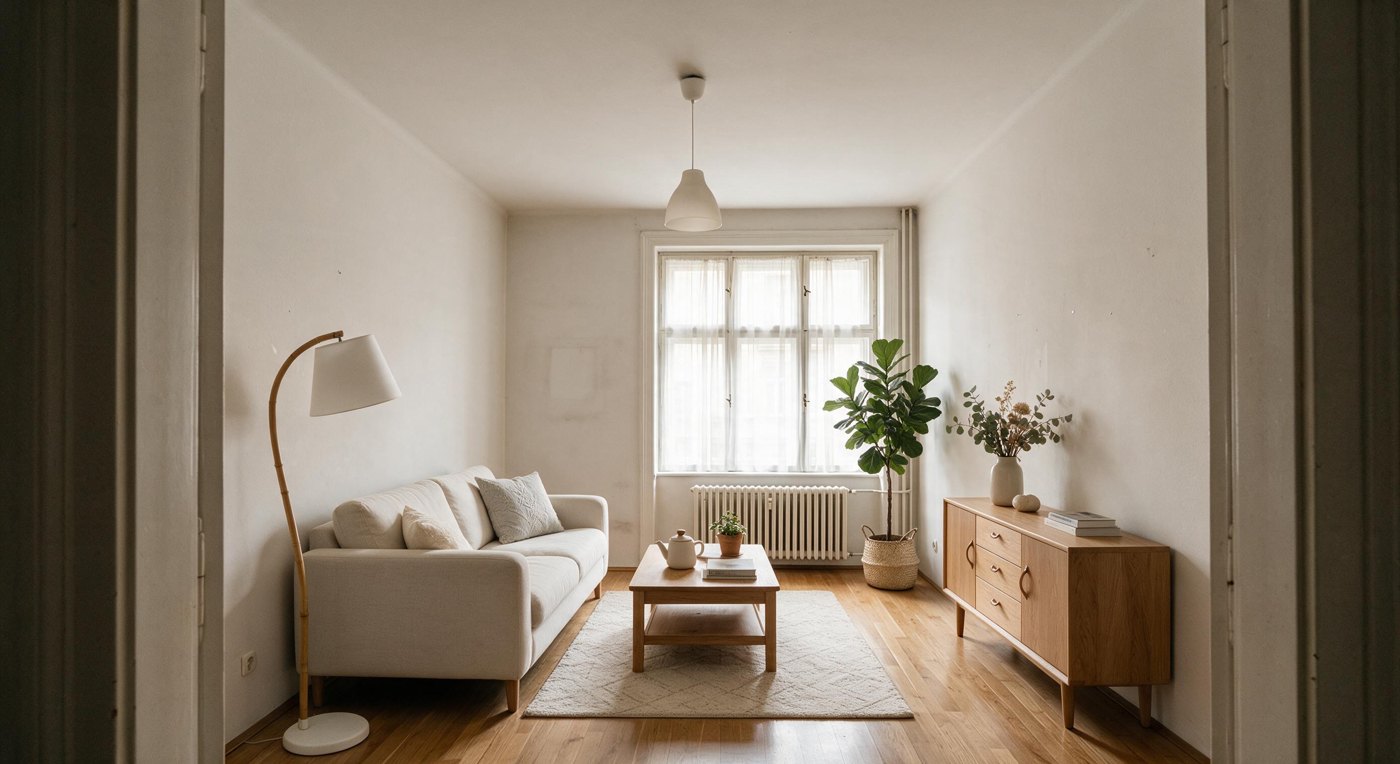
Which shots, in which order
The first image decides whether the listing gets opened. After that the order walks the buyer through the property.
| Position | What it shows | Why |
|---|---|---|
| 1 | the best, brightest room | the one image everyone will definitely see |
| 2-3 | the living room from two angles | one frame never conveys a space |
| 4-5 | kitchen and dining area | the second decision point |
| 6-8 | bedrooms | one good frame per room is enough |
| 9-10 | bathroom, utility | their absence raises suspicion |
| 11-12 | balcony, garden, exterior | the surroundings are part of the property |
Eight to twelve images is the useful range. Fewer feels incomplete; more becomes repetition, and the buyer leaves before the twentieth.
The six most common mistakes
- Crooked walls. The phone was tilted. This is the one fault visible in almost every amateur set.
- The photographer in the mirror. Practically guaranteed in bathrooms and hallways. Step aside, or shoot from an angle that does not include you.
- A dark room. Shooting from behind drawn curtains reads as though the property is being hidden.
- Close-up details. A photograph of the tap does not sell a flat. The room does.
- Zoom. Digital zoom throws away resolution. Step back instead.
- A missing room. If there is no bathroom photo, the buyer assumes something is wrong with it. A mediocre photo beats none.
What may be fixed afterwards, and what may not
Plenty can be corrected after the shoot: converging verticals can be straightened, a dark frame lifted, an overcast sky replaced, and an empty room virtually staged so a buyer can see what fits.
But there is a line, and it is worth taking seriously: anything that belongs to the property must not change. Furniture is a suggestion; structure is a fact.
- Fine: adding furniture and decoration, removing the owner's movable belongings, technical correction, sky replacement.
- Not fine: erasing a crack or a damp patch, replacing dated tiling, stretching the room, drawing in a window or a balcony that does not exist.
If you publish a virtually staged image, say so in one line. The buyer will stand in the empty room at the viewing anyway; the only question is whether they hear it from you first. We wrote about where that line runs, and what the Code of Ethics actually says, on the disclosure page.
Questions people actually ask
Do I need a wide-angle lens?
Most current phones have one, and in a small room it helps. Be careful with it: it distorts at the edges, and an over-wide frame lies about the size, which comes back at the viewing.
HDR on or off?
Automatic HDR is good now, and it solves exactly the hard case: bright window, darker room. Leave it on.
Should I use portrait mode?
No. Portrait mode blurs the background artificially, and with a property the space is precisely what you are selling.
How long does photographing a flat take?
Preparation is the longer half: roughly half an hour of tidying and twenty minutes of shooting for an average flat.
What if the property is empty?
Photograph it empty, straight and bright, and add the furniture afterwards. An empty room photographs smaller and colder than it is, and that is exactly what virtual staging fixes. The first room is free, so you can judge it on your own photo.
Try it on your own photo
Send one photo of an empty room and get it back furnished. The first room is free, no sign-up.
Updated 14 August 2026. Service provided by Balog Péter e.v. (HU91829768), Hungary.